


Importing ZBrush characters into Marvelous Designer can be frustrating sometimes, so we decided to do something about it.
We keep talking about Corona Materials topics. We talk about Multi/Sub-Object feature that allows to texture assets with multiple materials by using IDS.
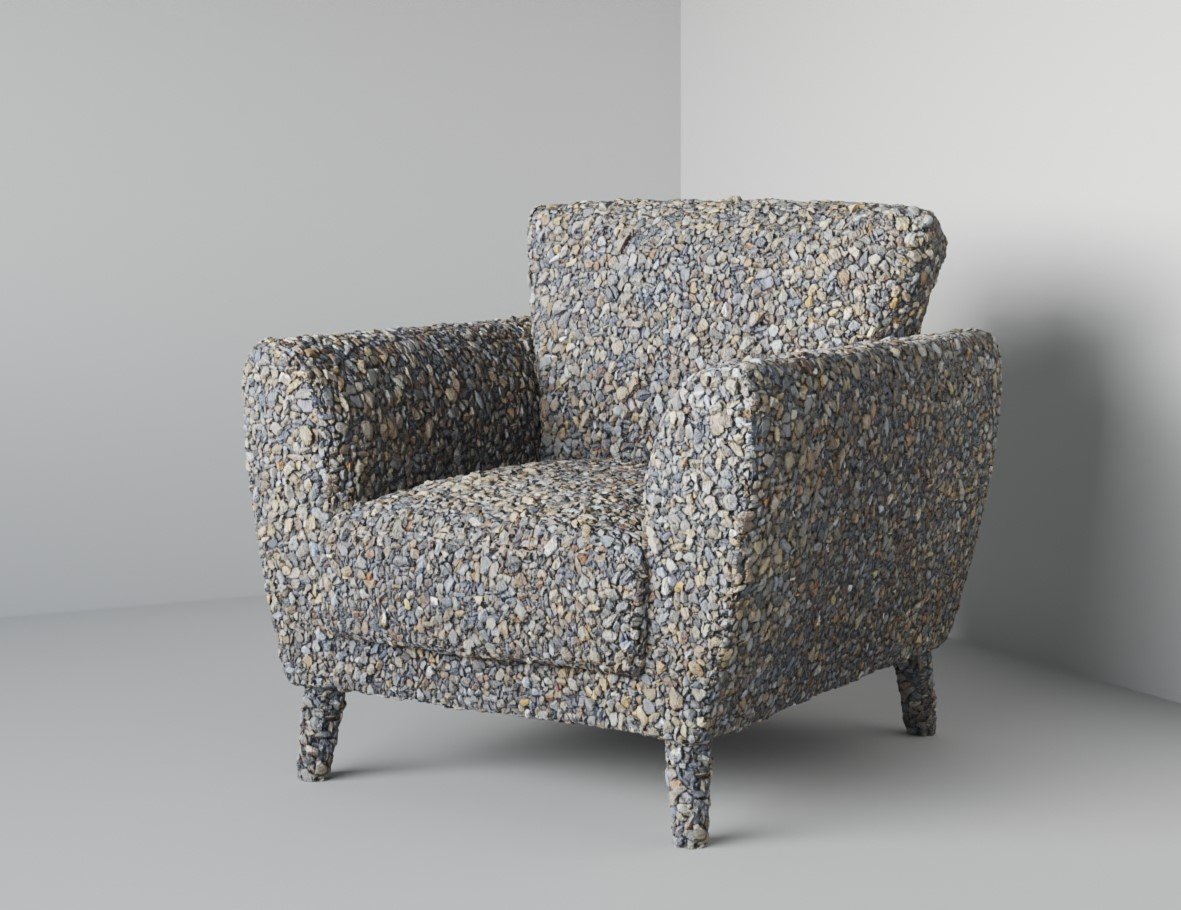
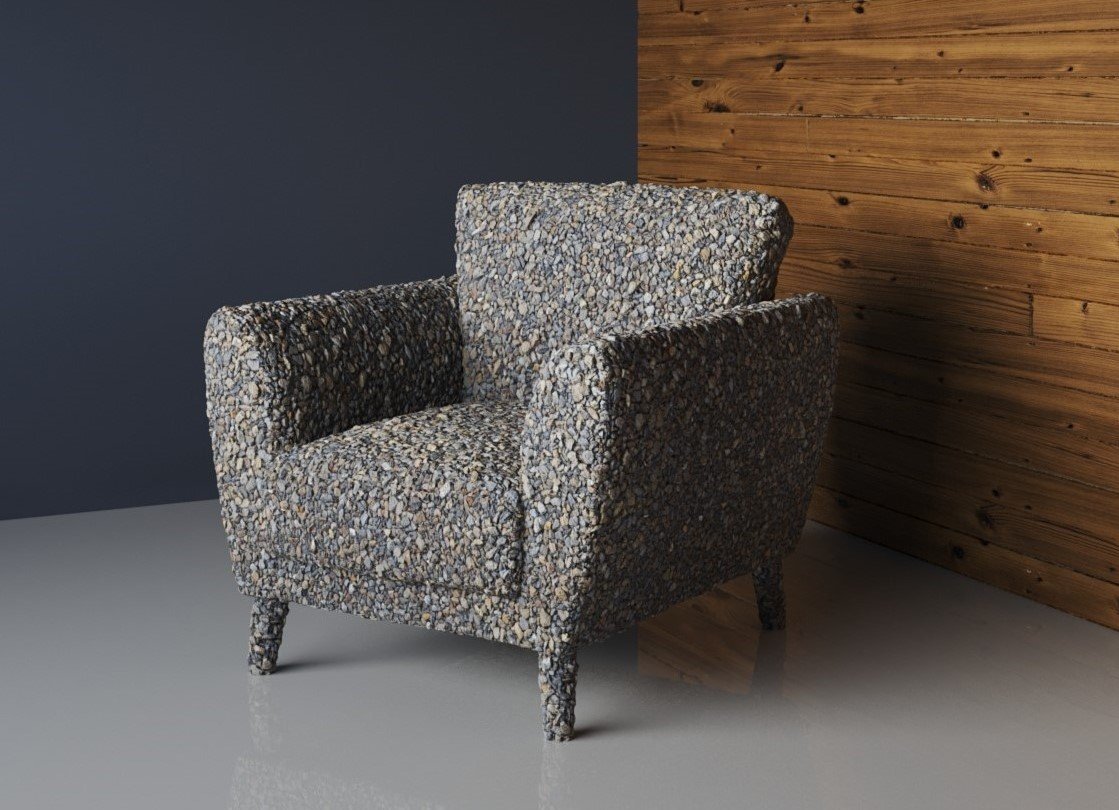
We have our scene in place and we need to start playing with materials. A nice idea would be to use our own test room to get them ready.